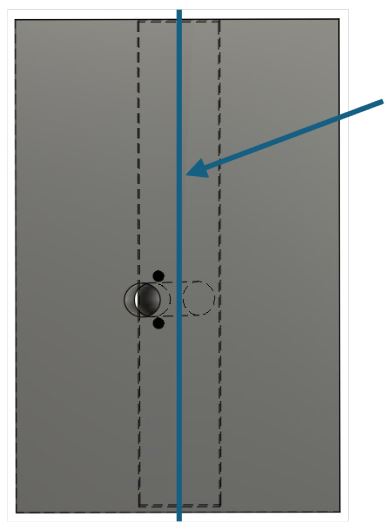
Locate Studs and Shelf Ribs
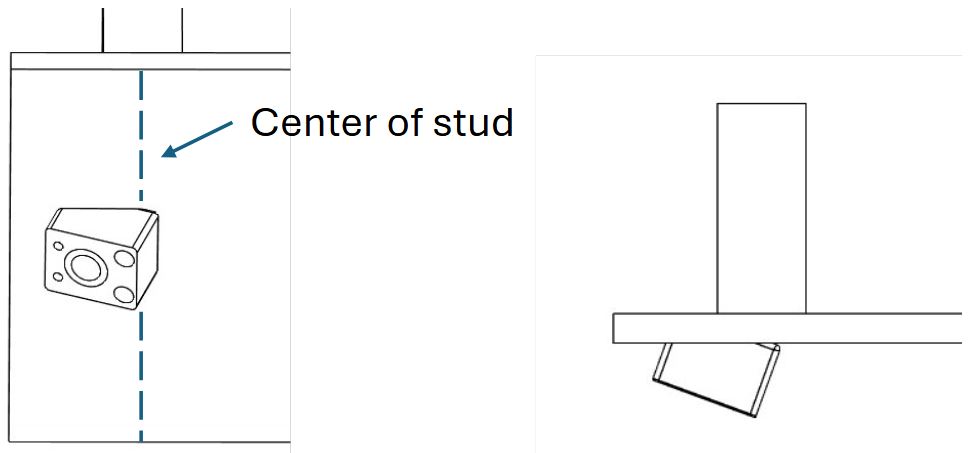
- Mark the center of each wall stud precisely.
- Check the shelf ribs inside the shelf.
- Decide hole type:
- Straight Hole: Shelf ribs do not interfere with the rod.
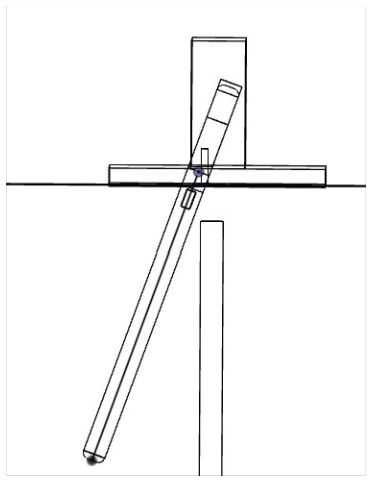
- Diagonal Hole: Shelf ribs block a straight rod.
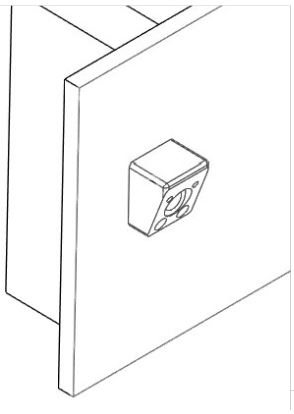
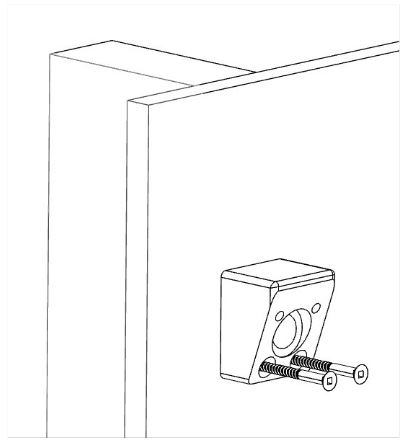
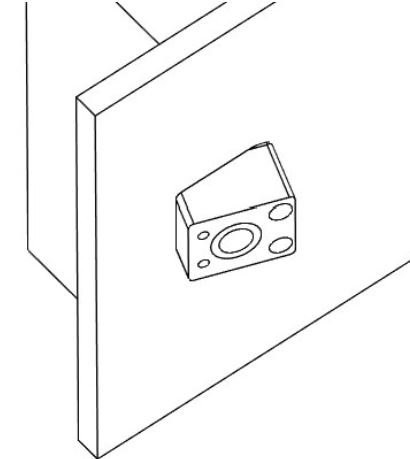
Attach the Drilling Jig
- Straight Hole: Position jig screw holes at the bottom (holes will be hidden by shelf
- Diagonal Hole: Mark stud center, then offset 5/8″ to the side for hole center.
- Attach jig with screw holes on the side to drill mostly into the stud
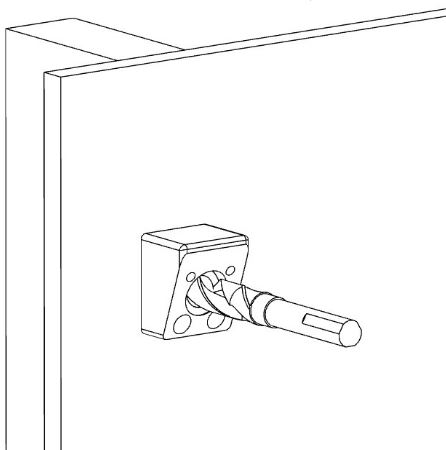
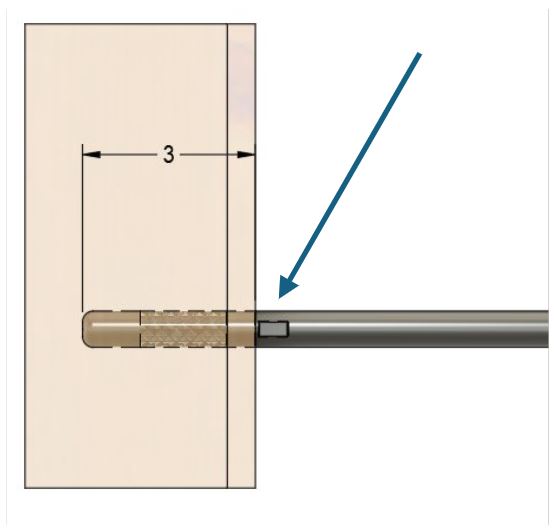
Drill the Holes
- Drill at least 3″ deep into the stud (includes ~1/2″ drywall).
- Use the jig to keep the drill aligned.
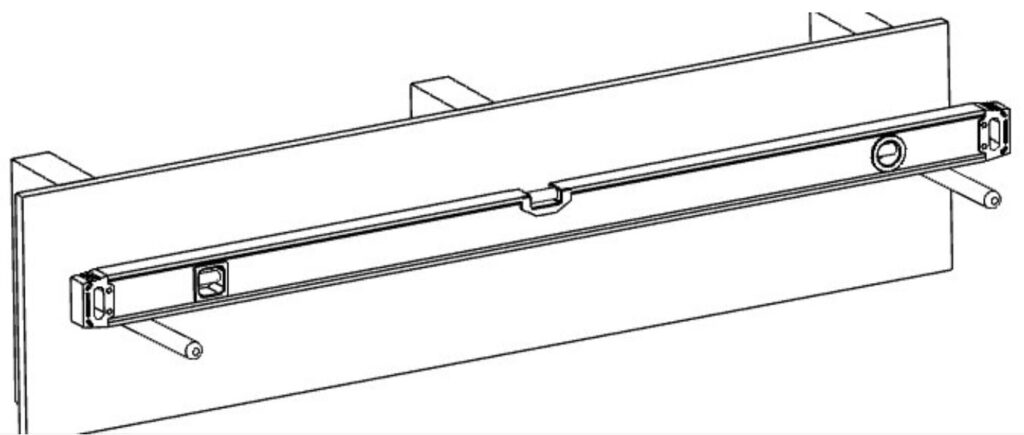
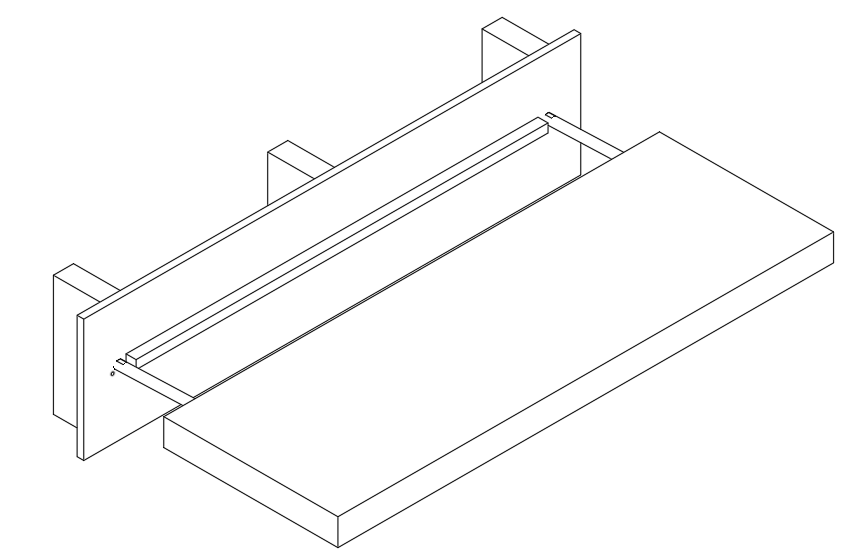
Install the rods
- Insert each rod into the drilled hole.
- Tap gently with hammer or mallet until rod reaches flattened area with wrench slot.
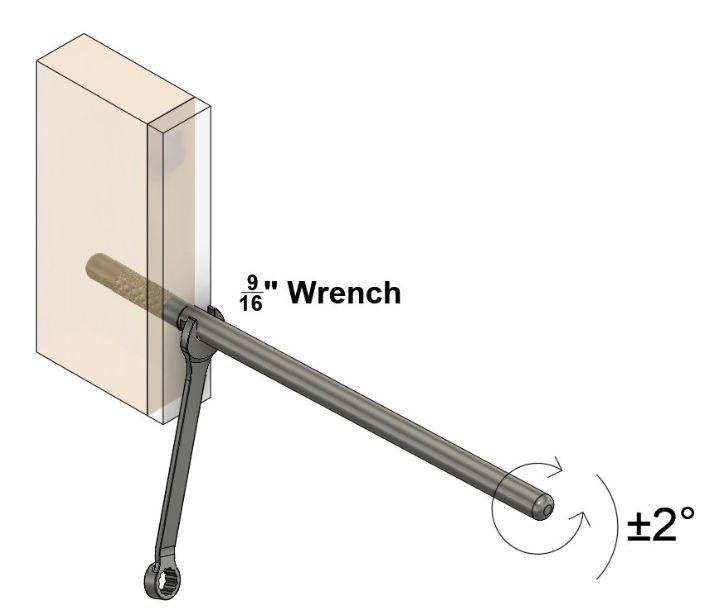
Level the Rods
- Place a level across all rods towards the front end.
- Adjust rod angle using the 9/16″ wrench slot until rod tips are level and alligned across all rods.
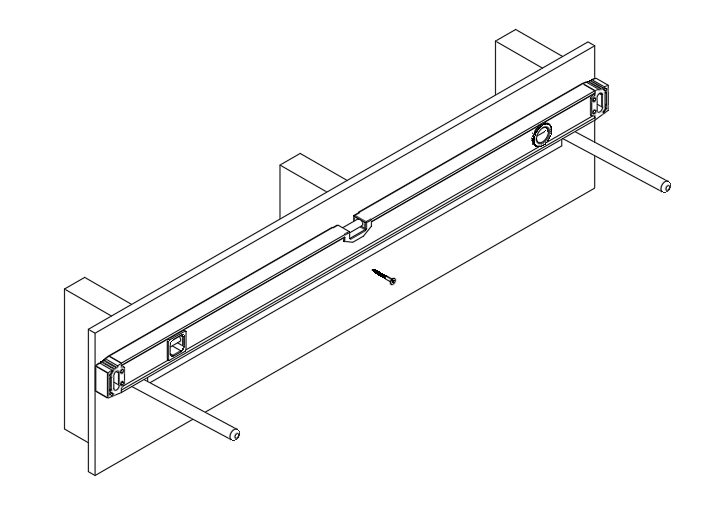
Install the Shelf
- The cleat needs to be cut to fit between rods
- Attach the cleat to the wall (screw or adhere). Ensure it is level.
- Slide the shelf onto the rods and over the cleat until fully seated.
Optional: Secure the shelf to the cleat with a dab of adhesive or finishing nails to prevent sliding. The cleat secures the shelf and prevents sagging and twisting.
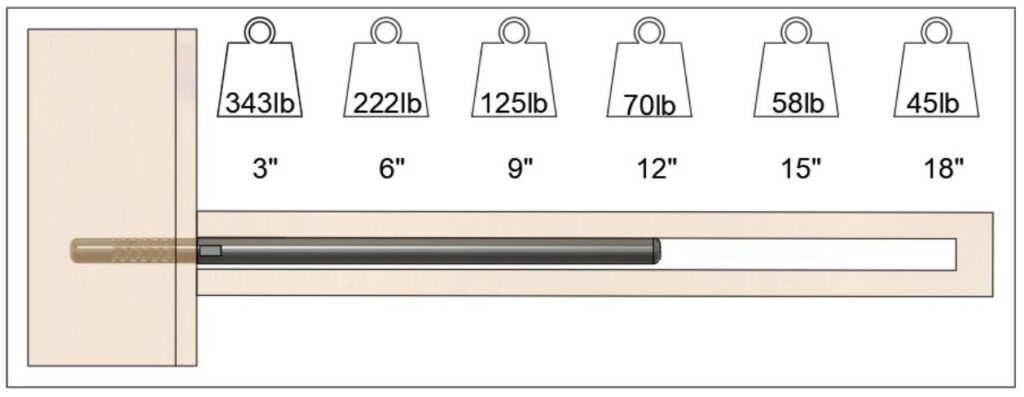
Weight Rating
- These values allow a < 2° change in angle tolerance